Showing posts with label banner. Show all posts

Sunday, October 18, 2009

Baby Shower and lots of fun goodies!!!

I hosted a Baby Shower for my best friend last Friday with bunch of other ladies from our Church. It was so much FUN!!!! I'm so glad that my friend had a great time and loved her shower!!! :)

I love doing all the goodies for this shower. She is one of my very close and dear friends and I wanted to do something special.

I don't have a picture of the invitation BUMMER!!!! Forgot to take it before they all went out. But I have couple left and I'll have to get them back from the person that was giving them out and I promise to post it later for you all. I just think it turned out so cute!!! :)

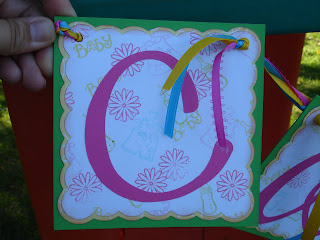
One of the things that I did was a Baby Shower banner.


I cut the 12x12 card board that comes in the package with Creative Memories pages or page protectors in too 51/2x51/2 inches. Then I painted my squares with green acrylic paint from WalMart.

I used Accent Essentials cricut cartridge to cut the scalloped squares out of some baby yellow paper by Martha Steward. Size 5 inches but as a shadow.

The white scalloped squares are from the same cartridge and same size only not a shadow. Shadow cuts just little bigger then regular cut that gives you a mad for your shape. Before I cut the white card stock I stamped baby images on it with postal colors. You can see that on the up close photo of one of the letters.

I used Lyrical Letters cartridge for the title "Loop Dee Loo" font all in caps. Pink card stock.

Button Ornament.


For one of the games we did was "Guess how many buttons?"
I used a flower foam circle type to glue the buttons. I painted the foam circle on side pink and the other yellow with again acrylic paint. Postal buttons came from WalMart. I used fabric glue to glue the buttons down. I found that this glue worked better then the Aleene's tacky glue. Some pink ribbon and some decorative buttons that spelled out BABY!

I used 266 buttons on this ornament. :)

Goodie Treats:
I got this idea for these treats from this video "Sweet Scallop Pouch". I think this lady is awesome. She has so many great videos and tutorials to make all kinds of treat bags. Just great...


Used lots of pink paper. I don't have the big cutting shape that she is using in the video so I used my CCS circle (I'll have to check what number I used) traced it and then used my scalloped decorative scissors to cut the circle out.
I got 3 butter milk mints in the little baggies.

Floral Stamps by Hero Arts
Star Dust stickles.
Ink form CTMH.
Little giraffe stamp by Imaginisce.
SU scalloped circle punch.

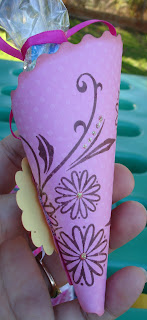


Thanks for visiting my blog today!!! :) Hope you liked my Baby Shower goodies!! :)

Blessings! :)

Nadya

Wednesday, May 13, 2009

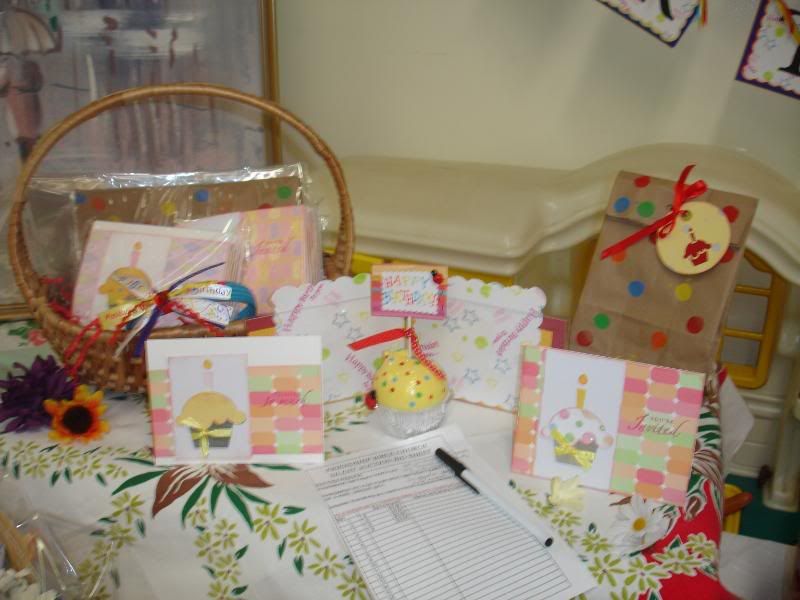
"Happy Birthday Kit" for the silent auction basket.

I thought it would be awesome to have a basket full of birthday stuff in it.

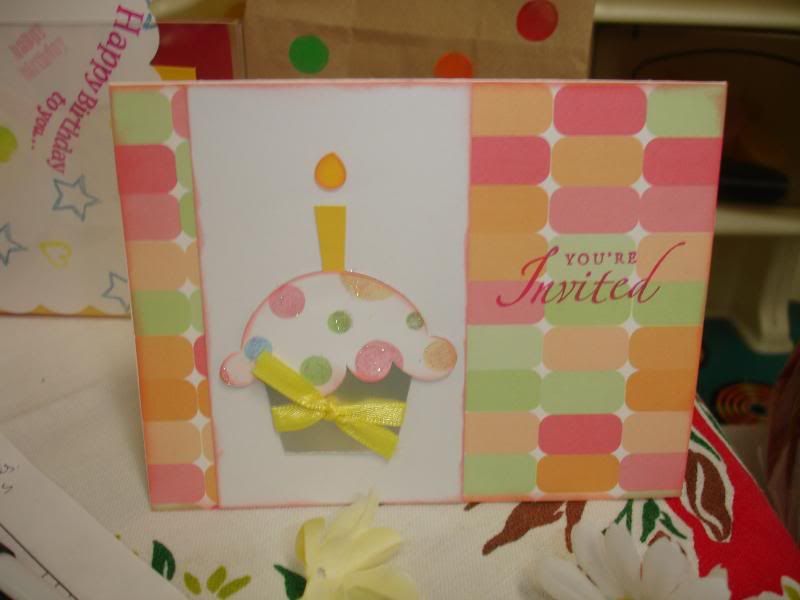
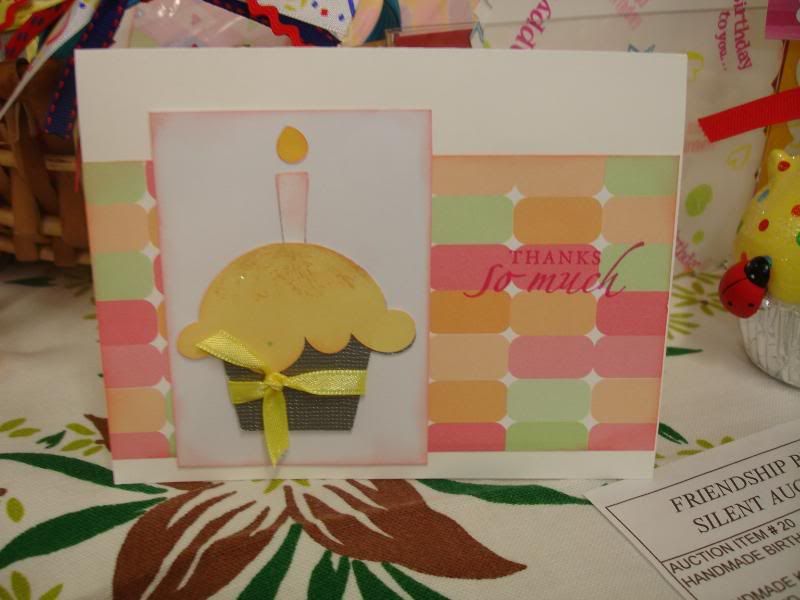
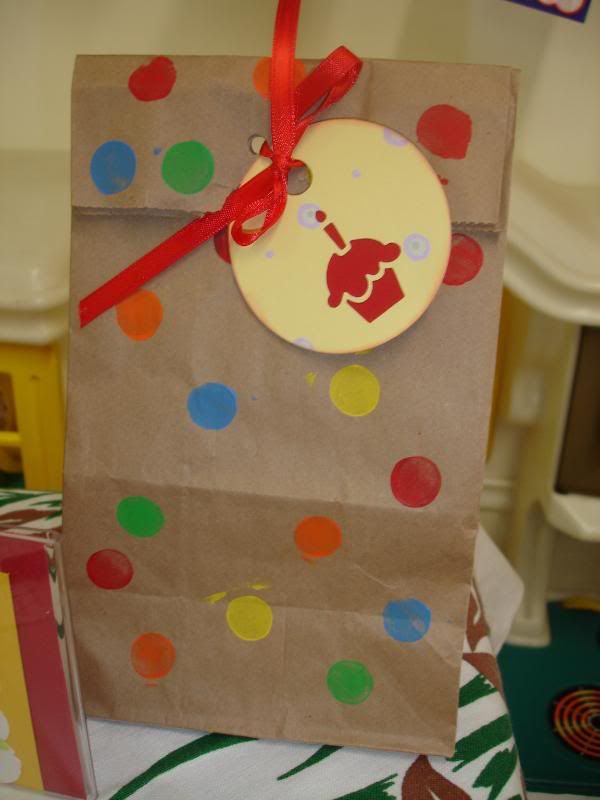
So me and my friend made a "Birthday Party Kit" basket. It had everything you needed for your birthday. I made 20 invitations, 20 Thank you cards all with envelops. I made 20 pre-made ready to go goodie bags.

We had a birthday frame. My friend made this really cute birthday cup cake tag thing, really cute, she also made a birthday hair band.

I also made the "Happy Birthday" banner. I used card board from the CM page protectors cut it to size 5 1/2 by 5 1/2, painted the squares with blue acrylic paint. Cut out the scalloped squares using cricut from the Accent Essentials cartridge, size 5 inch. The red part is the shadow so it's the same size as the white paper just shadow. The images on the white paper are all hand stamped. I used all kinds of stamps on them but mostly from CTMH. Added some fun bright colors of ribbon and done. It turned out really really awesome and I personally didn't want to sell it...

The cards, I used the cup cake from the Doodlecharm cartridge.

(Sorry ladies if I'm getting the wrong names for the cartridges, don't have them in front of me at the moment.)

Here are some pictures of this basket.

Image

Banner.
Image

Invitation card.
Image

Thank you card.
Image

Goodie bag.
Image

Here are couple of up close pictures of the banner. Again... the pics didn't turn out all that great.

I totally forgot to take pictures of all of my stuff at home before we set everything up. And the day I took these pictures I had only 2 hours of sleep. I staid up to finish things up. But anyways....

Image

Image

Image

I made the holes for the ribbon to go through using the Eyelet Setter Tool Kit from Making Memories. I used the biggest size to punch through the card board. Then I just tied the knot with the ribbon on the front side.

It was so easy to make the banner and so much fun!!!! I'll have to make one for my self now so I can use it for my girl's birthday parties...

Thanks for looking!
Nadya